How Do I Connect My Wireless Microphone To My Phone
How Do I Connect My Wireless Microphone To My Phone
How Do I Connect My Wireless Microphone To My Phone

Connecting a wireless microphone to your phone can vary depending on the type of microphone and phone you have. Here are some general steps to help you connect a wireless microphone to your phone:
1. Check Compatibility
- Ensure that your wireless microphone is compatible with your phone. Some microphones use Bluetooth, while others may require a specific app or adapter.
2. Bluetooth Microphone
- Turn on the Microphone: Power on your wireless microphone and put it in pairing mode (refer to the user manual for instructions).
- Enable Bluetooth on Your Phone: Go to your phone’s settings and turn on Bluetooth.
- Pair the Devices: In the Bluetooth settings on your phone, look for the microphone in the list of available devices and select it to pair.
- Test the Connection: Once paired, open a recording app or video app on your phone and test the microphone.
3. USB or Lightning Microphone
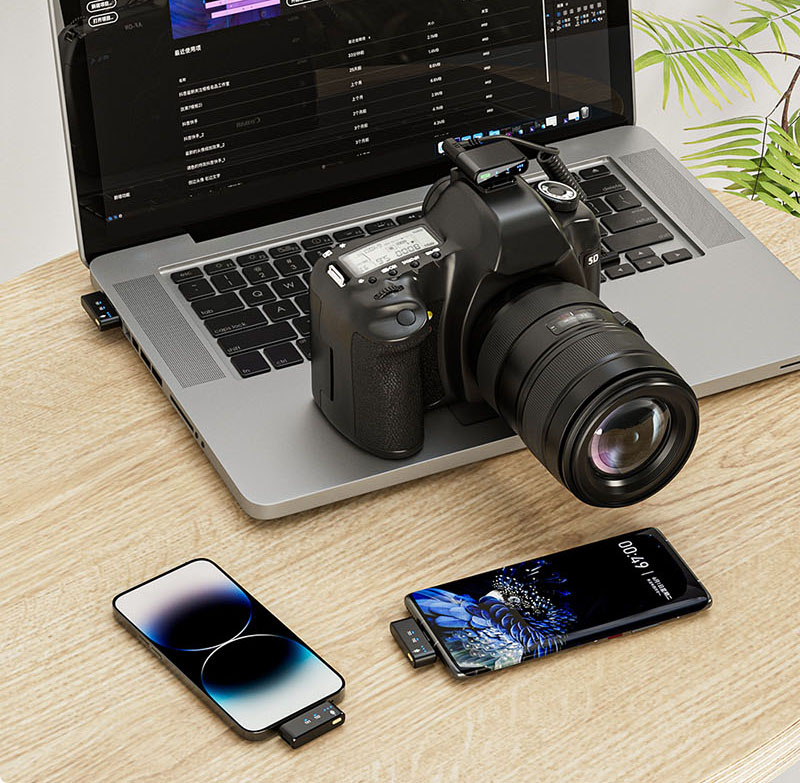
- Use an Adapter: If your microphone uses a USB or Lightning connection, you may need an adapter to connect it to your phone (e.g., USB-C to USB adapter or Lightning to USB adapter).
- Connect the Microphone: Plug the microphone into the adapter and then connect the adapter to your phone.
- Select the Microphone: Open your recording or video app and select the external microphone as the audio input source.
4. Wireless Microphone with Receiver
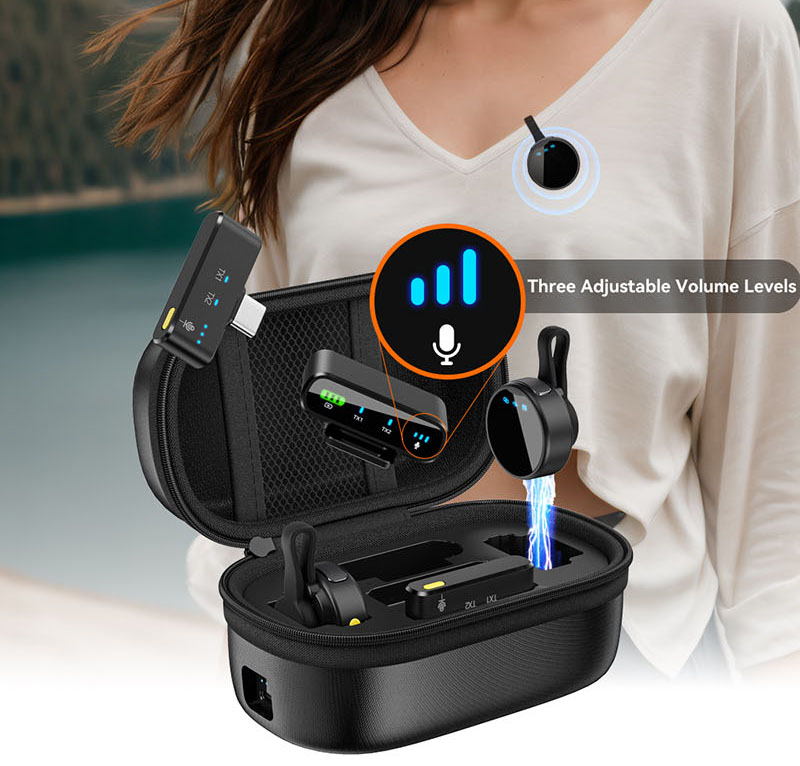
- Connect the Receiver: If your wireless microphone comes with a receiver, connect the receiver to your phone using the appropriate cable or adapter (e.g., 3.5mm audio jack, USB, or Lightning).
- Pair the Microphone: Turn on the microphone and receiver, and ensure they are paired (refer to the user manual for pairing instructions).
- Select the Audio Source: In your phone’s settings or recording app, select the external microphone as the audio input.
5. Use a Dedicated App
- Some wireless microphones come with a dedicated app that you need to download and install on your phone. Follow the app’s instructions to connect and configure the microphone.
6. Test and Adjust Settings
- After connecting, test the microphone by recording audio or making a voice call. Adjust the microphone and phone settings as needed to ensure optimal sound quality.
Troubleshooting Tips:
- Ensure the microphone is charged or has fresh batteries.
- Check for any firmware updates for the microphone.
- Restart your phone and the microphone if you encounter connection issues.
- Refer to the user manual for specific instructions related to your microphone model.
By following these steps, you should be able to connect your wireless microphone to your phone and start using it for recording, streaming, or other audio needs.


