How To Connect A Wireless Microphone To An Iphone
How To Connect A Wireless Microphone To An Iphone
How To Connect A Wireless Microphone To An Iphone

Connecting a wireless microphone to an iPhone is a great way to improve audio quality for recording videos, live streaming, or podcasting. Here’s a step-by-step guide to help you set it up:
What You’ll Need:
- Wireless microphone system (with a receiver).
- Lightning to 3.5mm adapter (if using a 3.5mm connection) or a compatible Lightning/USB-C adapter.
- Appropriate cables (usually 3.5mm AUX or USB, depending on the microphone system).
Steps to Connect:
Option 1: Using a 3.5mm AUX Connection
- Power On the Receiver:
- Plug the receiver into a power source (if required) or use its built-in battery.
- Turn on the receiver.
- Power On the Microphone:
- Insert batteries into the wireless microphone or charge it if it has a rechargeable battery.
- Turn on the microphone.
- Pair the Microphone and Receiver:
- Most wireless systems pair automatically. If not, follow the user manual to pair them manually.
- Connect the Receiver to the iPhone:
- Use a Lightning to 3.5mm adapter (sold separately by Apple or third-party brands).
- Plug the 3.5mm AUX cable from the receiver into the adapter.
- Connect the adapter to your iPhone’s Lightning port.
- Test the Audio:
- Open your camera, voice memo app, or any recording app.
- Speak into the microphone and check if the audio is being captured clearly.
Option 2: Using a USB Connection (for USB-C or Lightning Microphones)
- Power On the Receiver and Microphone:
- Follow the same steps as above to power on the receiver and microphone.
- Connect the Receiver to the iPhone:
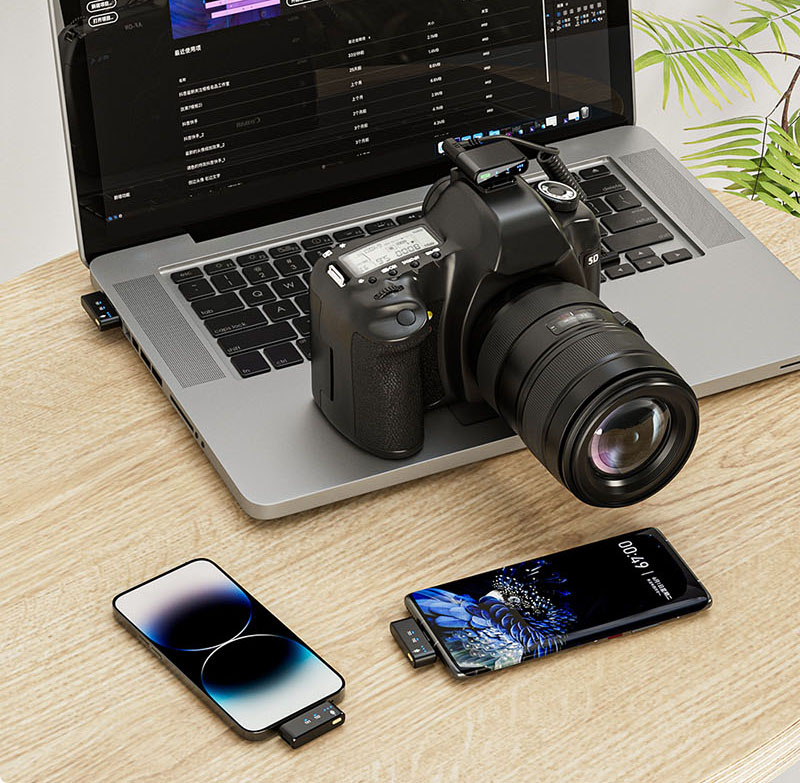
- If your receiver has a USB output, use a Lightning to USB adapter (for older iPhones) or a USB-C to Lightning adapter (for newer iPhones).
- Plug the USB cable from the receiver into the adapter.
- Connect the adapter to your iPhone.
- Test the Audio:
- Open your recording app and check if the microphone audio is being captured.
Option 3: Using Bluetooth (for Bluetooth Microphones)
- Power On the Microphone:
- Turn on the Bluetooth microphone and ensure it’s in pairing mode.
- Pair with iPhone:
- Go to your iPhone’s Settings > Bluetooth.
- Turn on Bluetooth and select the microphone from the list of available devices.
- Test the Audio:
- Open your recording app and check if the microphone audio is being captured.
Troubleshooting Tips:
- No Sound: Ensure the microphone and receiver are paired and powered on. Check cable connections and adapter compatibility.
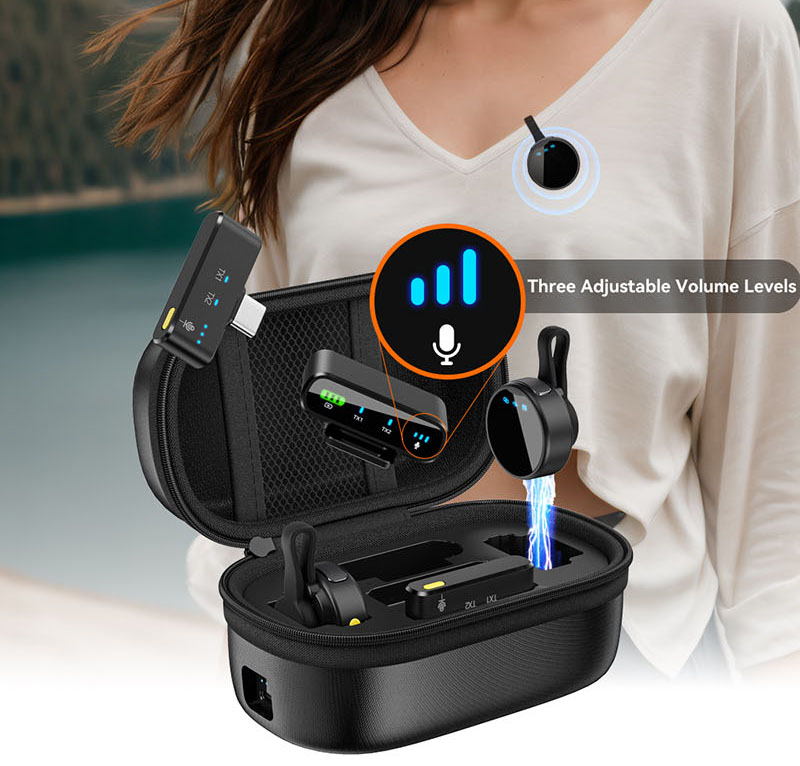
- Low Volume: Adjust the gain/volume on the receiver and check your iPhone’s audio settings.
- Interference: Change the frequency/channel on the receiver and microphone to avoid interference.
Recommended Adapters:
- Lightning to 3.5mm Adapter: Apple Official Adapter or Anker’s version.
- Lightning to USB Adapter: Apple’s Lightning to USB Camera Adapter.
- USB-C to Lightning Adapter: For newer iPhones with USB-C compatibility.
Let me know if you need help with a specific wireless microphone model!


