How To Connect Wireless Lavalier Microphone To Iphone
How To Connect Wireless Lavalier Microphone To Iphone
How To Connect Wireless Lavalier Microphone To Iphone

Connecting a wireless lavalier microphone to an iPhone can significantly enhance the audio quality for recordings, videos, or live streaming. Here’s a step-by-step guide to help you through the process:
1. Unbox and Inspect
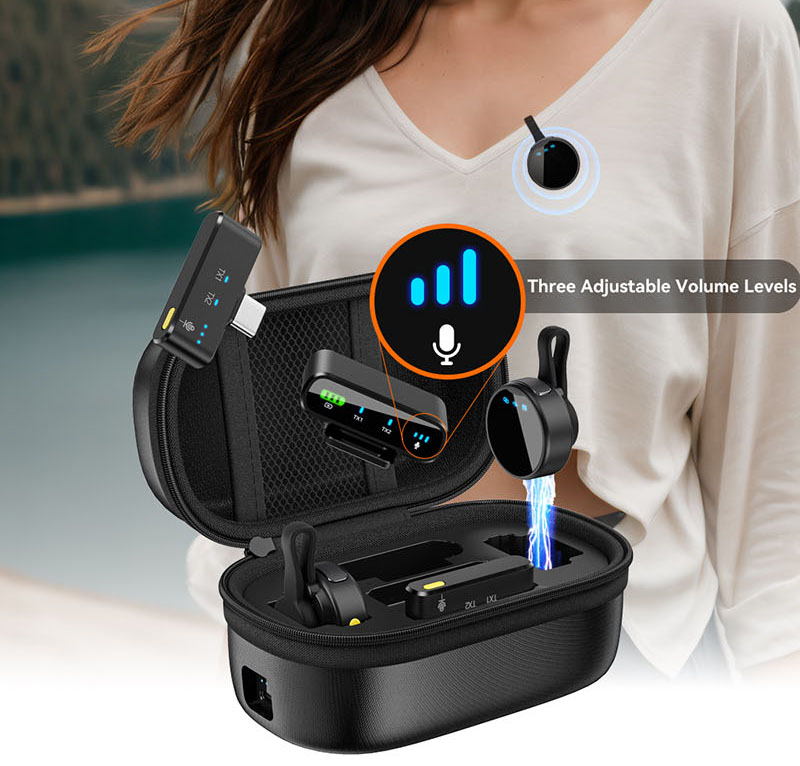
- Microphone: Ensure you have the lavalier microphone, transmitter, and receiver.
- Batteries: Check if batteries are included or if you need to purchase them separately.
- Cables: Verify that all necessary cables (e.g., 3.5mm, Lightning, or USB-C) are included.
2. Insert Batteries
- Open the battery compartment on both the microphone transmitter and the receiver.
- Insert the appropriate batteries (usually AA or AAA), ensuring correct polarity.
3. Power On
- Turn on the microphone transmitter (usually a switch or button on the transmitter).
- Turn on the receiver.
4. Pair the Microphone and Receiver
- Most modern wireless lavalier microphones automatically pair when turned on. If not:
- Set both the transmitter and receiver to the same frequency or channel.
- Some systems may require you to sync them manually (refer to the user manual for specific instructions).
5. Connect the Receiver to the iPhone
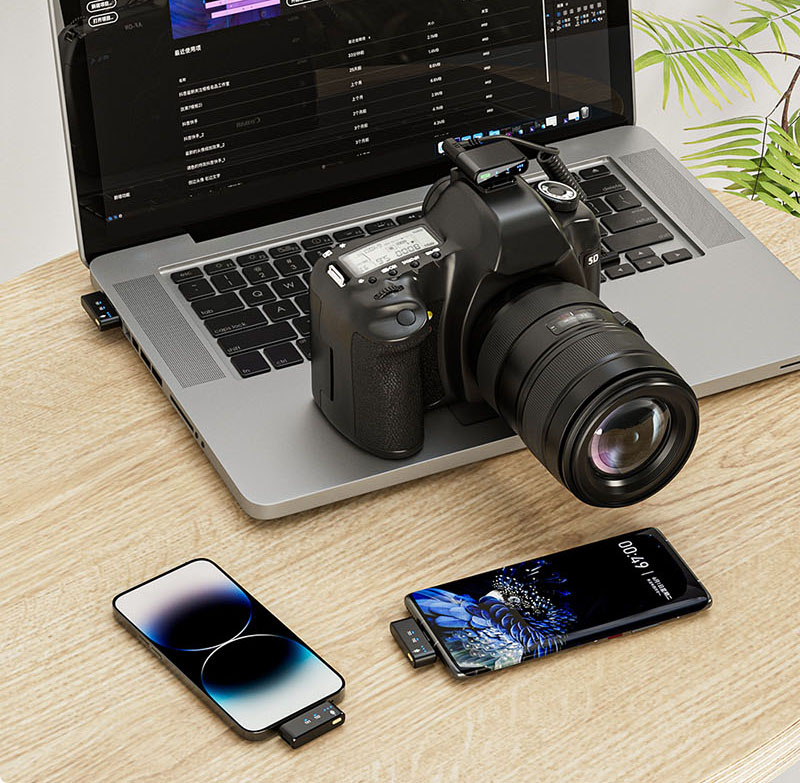
- Identify the Receiver Output: Locate the output port on the receiver (common types include 3.5mm, Lightning, or USB-C).
- Choose the Correct Adapter: Depending on your iPhone model, you may need an adapter:
- Lightning to 3.5mm Adapter: For iPhones with a Lightning port.
- USB-C to 3.5mm Adapter: For newer iPhones with a USB-C port.
- Make the Connection:
- Plug the receiver’s output cable into the adapter.
- Plug the adapter into the iPhone’s port.
6. Configure iPhone Settings
- Open Settings: Go to the Settings app on your iPhone.
- Sound & Haptics: Navigate to the Sound & Haptics section.
- Input Source: Ensure the iPhone recognizes the external microphone (it should switch automatically in most cases).
7. Test the Microphone
- Open a recording app (e.g., Voice Memos, Camera, or a third-party app).
- Speak into the lavalier microphone and check the sound output.
- Adjust the gain or volume on both the receiver and the iPhone to avoid distortion or feedback.
8. Position the Microphone
- Clip the lavalier microphone to your clothing, about 6-8 inches below your chin.
- Ensure the microphone is not obstructed by clothing or accessories.
9. Monitor and Adjust
- Continuously monitor the sound quality during use.
- Make adjustments to the microphone position, volume, or settings as needed.
Tips for Optimal Performance:
- Avoid Interference: Keep the receiver away from other electronic devices that may cause interference.
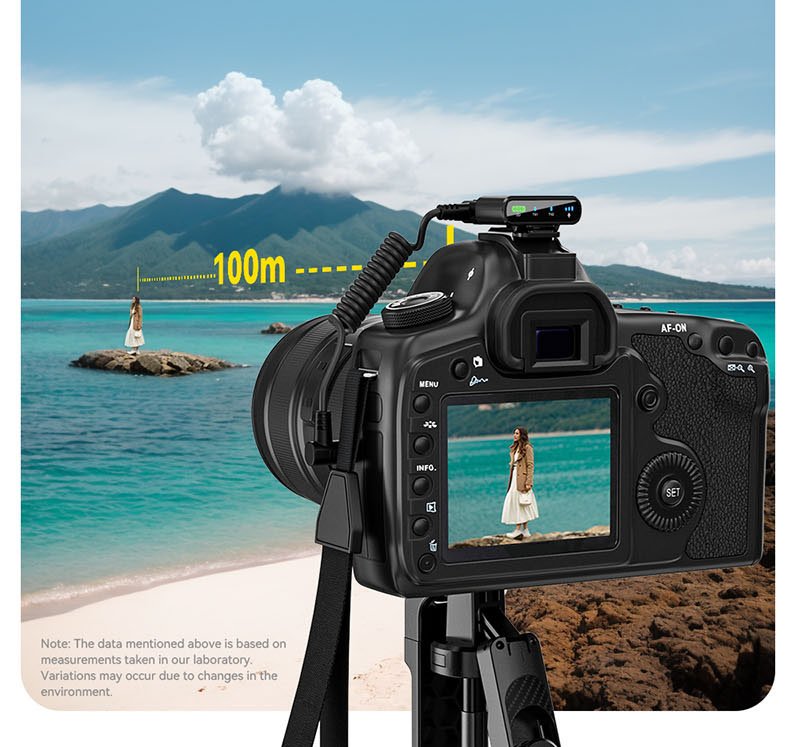
- Line of Sight: Maintain a clear line of sight between the microphone and the receiver for the best signal strength.
- Battery Life: Always carry spare batteries, especially for long recordings or events.
Troubleshooting:
- No Sound: Check if the microphone and receiver are on the same frequency, batteries are charged, and connections are secure.
- Interference: Change the frequency or channel to avoid interference from other devices.
- Feedback: Adjust the microphone position and volume levels to minimize feedback.
By following these steps, you should be able to effectively connect a wireless lavalier microphone to your iPhone for various applications, whether for recordings, videos, or live streaming.
Troubleshooting:
- No Sound: Check if the microphone and receiver are on the same frequency, batteries are charged, and connections are secure.
- Interference: Change the frequency or channel to avoid interference from other devices.
- Feedback: Adjust the microphone position and volume levels to minimize feedback.
By following these steps, you should be able to effectively connect a wireless microphone to a speaker for various applications, whether for public speaking, performances, or recordings.


