How To Connect Wireless Microphone To Iphone
How To Connect Wireless Microphone To Iphone
How To Connect Wireless Microphone To Iphone

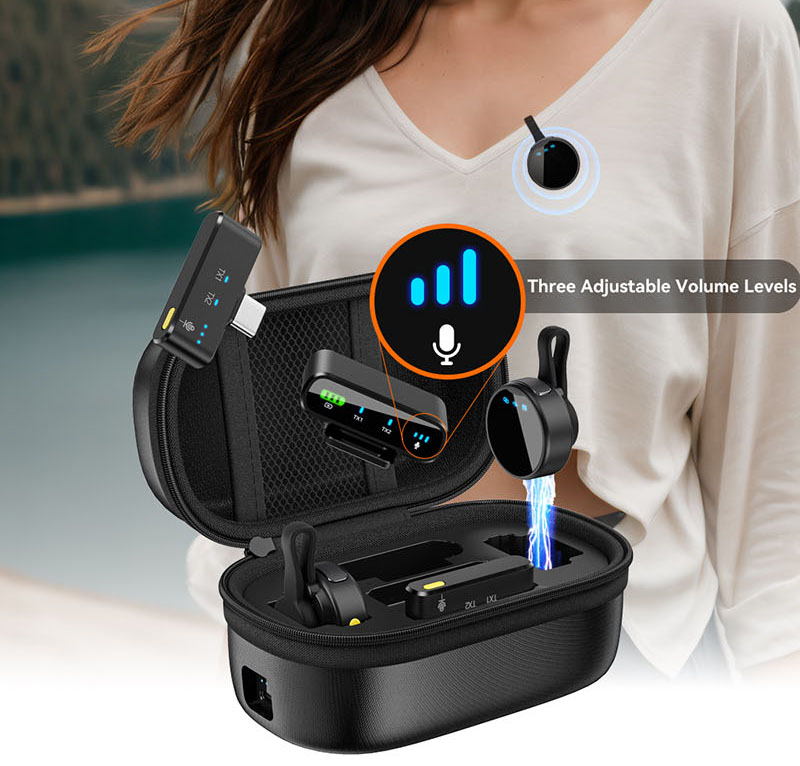
Connecting a wireless microphone to an iPhone can be done in a few different ways, depending on the type of wireless microphone system you have. Here are the most common methods:
1. Bluetooth Microphone
If your wireless microphone uses Bluetooth, follow these steps:
- Turn on the Microphone: Power on your wireless microphone and ensure it’s in pairing mode (refer to the microphone’s manual for instructions).
- Enable Bluetooth on iPhone:
- Go to Settings > Bluetooth.
- Turn on Bluetooth.
- Pair the Microphone:
- Your microphone should appear in the list of available devices under “Other Devices.”
- Tap on the microphone’s name to pair it.
- Test the Connection:
- Open an app that uses audio input (e.g., Voice Memos, Camera, or a recording app).
- Speak into the microphone to ensure it’s working.
2. USB Microphone (via Lightning Adapter)
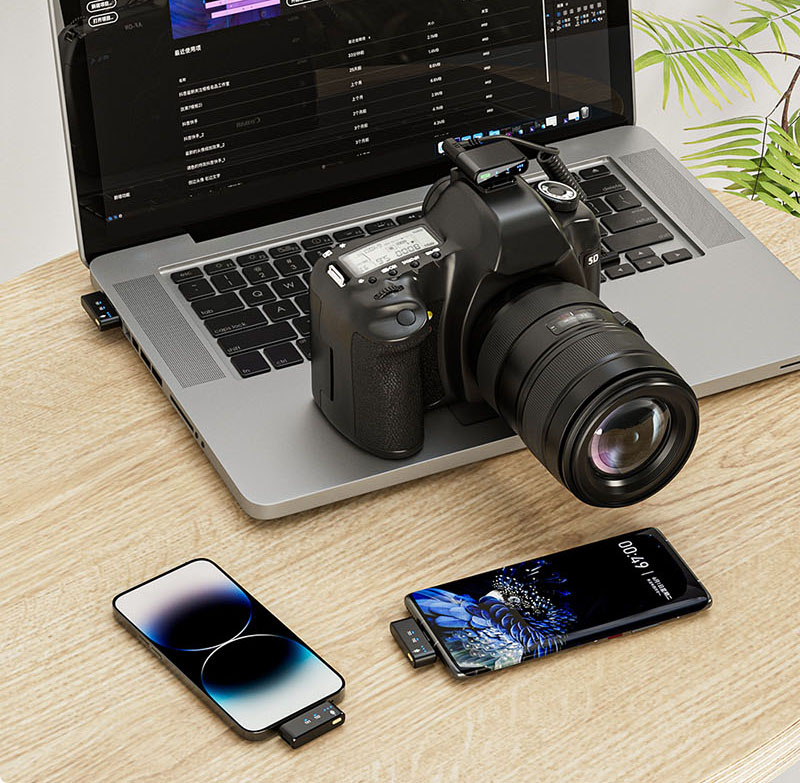
If your wireless microphone uses a USB receiver:
- Get a Lightning to USB Adapter:
- Purchase an Apple Lightning to USB Camera Adapter (or a third-party equivalent).
- Connect the Receiver:
- Plug the USB receiver into the adapter.
- Connect the adapter to your iPhone’s Lightning port.
- Turn on the Microphone:
- Power on the microphone and ensure it’s synced with the receiver.
- Test the Connection:
- Open an app that uses audio input and check if the microphone is detected.
3. 3.5mm Jack Microphone (via Headphone Jack Adapter)
If your wireless microphone uses a 3.5mm jack:
- Get a Lightning to 3.5mm Adapter:
- If your iPhone doesn’t have a headphone jack, use a Lightning to 3.5mm Headphone Jack Adapter.
- Connect the Microphone:
- Plug the microphone’s receiver into the adapter.
- Connect the adapter to your iPhone.
- Turn on the Microphone:
- Power on the microphone and ensure it’s synced with the receiver.
- Test the Connection:
- Open an app that uses audio input and check if the microphone is working.
4. Wireless Microphone with iOS App
Some wireless microphone systems come with a dedicated iOS app for control and monitoring:
- Download the App:
- Check the microphone’s manual or packaging for the app name and download it from the App Store.
- Follow the App Instructions:
- The app will guide you through the pairing and setup process.
- Test the Connection:
- Use the app to ensure the microphone is connected and functioning properly.
Tips:
- Ensure your iPhone is updated to the latest iOS version for compatibility.
- Check the microphone’s manual for specific instructions or troubleshooting.
- If the microphone isn’t working, try restarting your iPhone or re-pairing the device.
Let me know if you need further assistance!


