How To Pair Wireless Microphone
How To Pair Wireless Microphone
How To Pair Wireless Microphone
Pairing a wireless microphone with its receiver is a straightforward process, but the exact steps can vary depending on the brand and model of your system. Below is a general guide to help you pair most wireless microphones:
1. Power On the Receiver and Microphone
- Plug in and turn on the receiver.
- Insert batteries into the wireless microphone or charge it if it has a rechargeable battery, then turn it on.
2. Check for Automatic Pairing
- Many modern wireless microphone systems automatically pair the microphone and receiver when powered on. If the microphone and receiver are from the same system and on the same frequency, they should sync without any additional steps.
- Look for a confirmation light or indicator on both the receiver and microphone to ensure they are paired.
3. Manual Pairing (if required)
If the system does not pair automatically, follow these steps:
Step 1: Set the Receiver to Pairing Mode
- On the receiver, locate the pairing button or menu option (refer to the user manual for specific instructions).
- Some systems may require you to scan for available frequencies or channels before pairing.
Step 2: Set the Microphone to the Same Frequency/Channel
- On the microphone, locate the frequency or channel selector (this may be a button, dial, or menu option).
- Match the microphone’s frequency or channel to the one selected on the receiver.
Step 3: Confirm Pairing
- Once the frequencies match, the microphone and receiver should pair.
- Look for a confirmation light or indicator on both devices.
4. Test the Connection
- Speak into the microphone and check if the audio is being received by the receiver.
- Adjust the gain or volume levels on the receiver or mixer to ensure clear sound without distortion.
5. Troubleshooting Pairing Issues
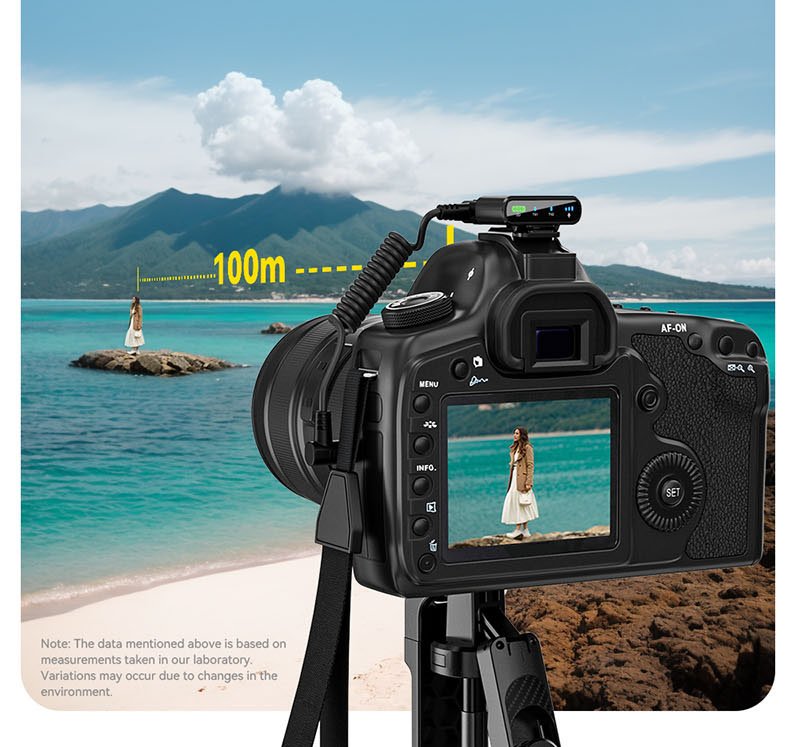
- No Signal: Ensure both devices are powered on and within range.
- Interference: Change the frequency or channel to avoid interference from other wireless devices.
- Low Battery: Replace or recharge the microphone’s batteries.
- Obstructions: Ensure there are no physical obstructions blocking the signal between the microphone and receiver.
Brand-Specific Pairing Tips
- Shure Wireless Systems: Use the “Sync” button on the receiver and microphone to pair.
- Sennheiser Wireless Systems: Use the “Pair” button or follow the on-screen menu for pairing.
- Audio-Technica Wireless Systems: Use the “Set” button to sync the microphone and receiver.
- Rode Wireless Systems: Use the “Link” button to pair the devices.
6. Save Settings (if applicable)
- Some systems allow you to save the paired frequency or channel for future use. Refer to the user manual for instructions on saving settings.
By following these steps, you should be able to pair your wireless microphone with its receiver successfully. If you encounter issues, consult the user manual for your specific model or contact the cnbewin manufacturer’s support team.


