How To Setup A Wireless Microphone
How To Setup A Wireless Microphone

How To Setup A Wireless Microphone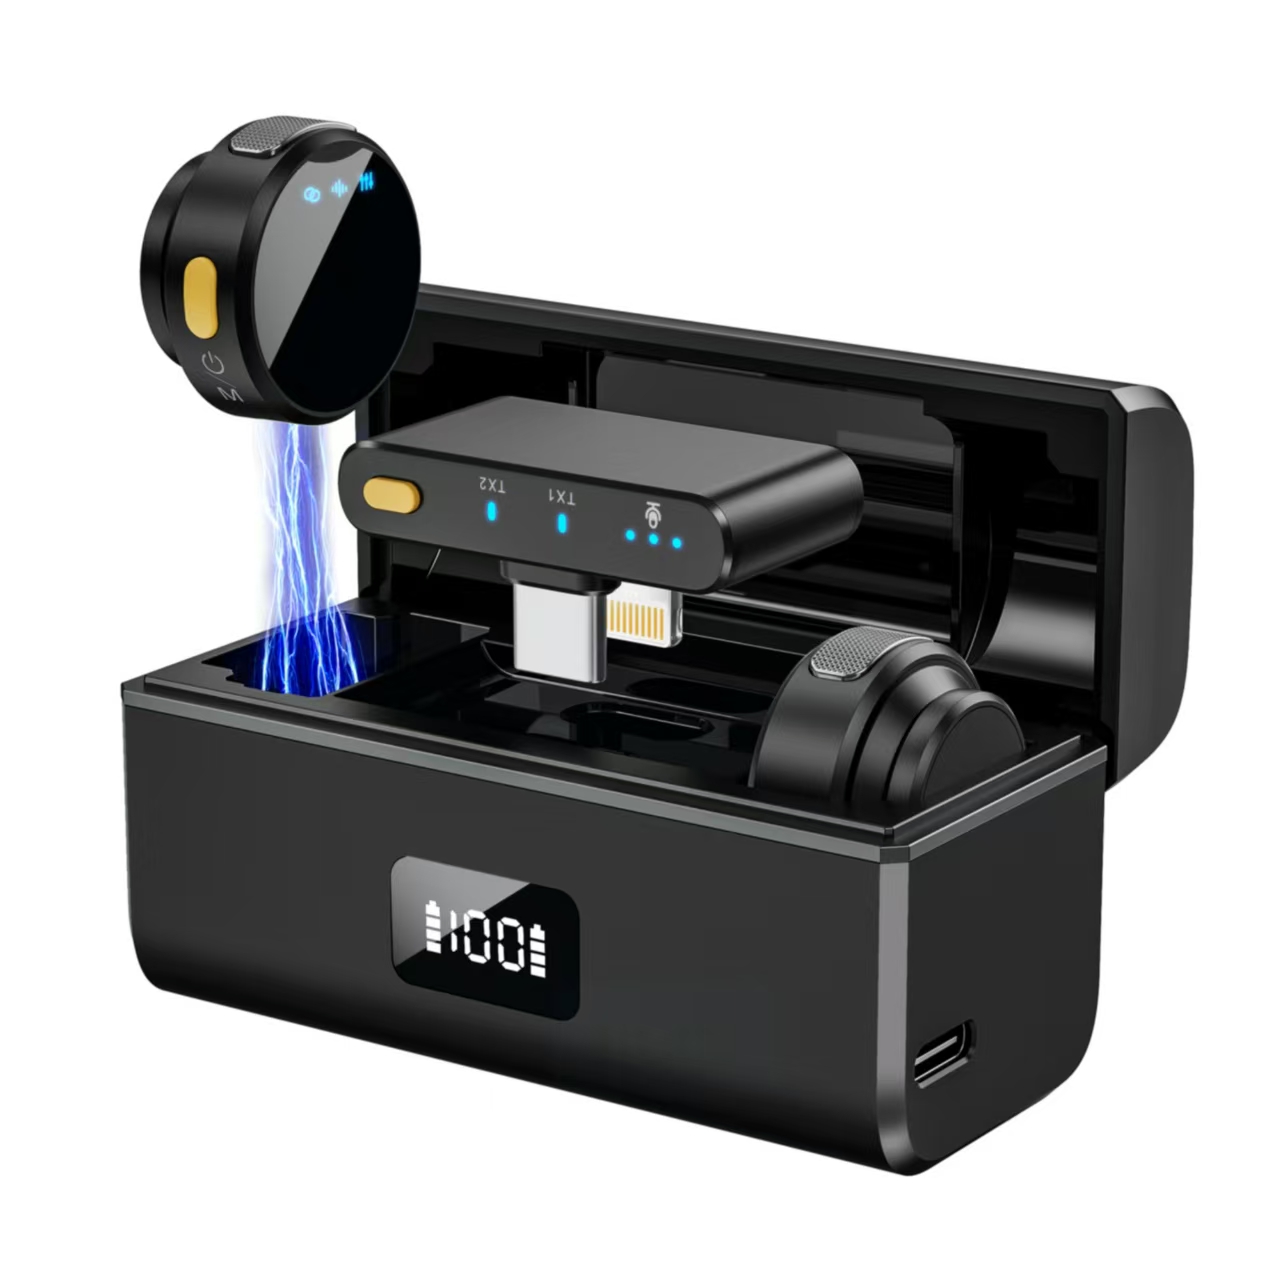
Setting up cnbewin wireless microphone system involves several steps to ensure optimal performance and avoid interference. Here’s a step-by-step guide:
1. Unbox and Check Components
Ensure you have all the necessary components:
- Wireless microphone (handheld, lavalier, or headset)
- Receiver unit
- Antennas (if detachable)
- Cables (XLR, 1/4″, or USB, depending on the system)
- Power adapters for the receiver and microphone (if required)
- User manual
2. Choose a Location for the Receiver
- Place the receiver close to the performance area but away from potential sources of interference (e.g., Wi-Fi routers, cell phones, or other wireless devices).
- Ensure the receiver is within the operating range specified in the manual (typically 100–300 feet, depending on the system).
- Keep the receiver elevated and unobstructed for better signal reception.
3. Connect the Receiver to the Sound System
- Use the appropriate cable (XLR, 1/4″, or USB) to connect the receiver’s output to your mixer, amplifier, or PA system.
- Ensure the connections are secure to avoid audio dropouts or noise.
4. Power On the System
- Plug in the receiver and turn it on.
- Insert batteries into the wireless microphone or charge it if it has a rechargeable battery.
- Turn on the microphone.
5. Pair the Microphone with the Receiver
- Most modern wireless systems automatically pair the microphone and receiver when powered on.
- If manual pairing is required, follow the instructions in the user manual (this may involve selecting a specific frequency or channel).
6. Adjust Frequencies (if necessary)
- If you experience interference or dropouts, change the frequency or channel on both the microphone and receiver.
- Use the receiver’s scanning feature (if available) to find the clearest frequency.
7. Test the Microphone
- Speak or sing into the microphone to check audio levels and clarity.
- Adjust the gain on the receiver or mixer to avoid distortion or feedback.
8. Secure the Setup
- Mount the receiver securely if needed.
- Use a microphone stand or clip for handheld or lavalier microphones.
- Ensure cables are neatly organized to prevent tripping hazards.
9. Monitor and Troubleshoot
- During use, monitor the signal strength and audio quality.
- If issues arise, check for interference, low battery levels, or signal obstructions.
Tips for Optimal Performance
- Use fresh or fully charged batteries for the microphone.
- Avoid placing the receiver near metal objects or walls that can block the signal.
- If using multiple wireless systems, ensure they operate on different frequencies to avoid interference.
By following these steps, you should have a fully functional wireless microphone system ready for use! Refer to the user manual for specific instructions related to your model.
")
")
")