How To Use A Wireless Lavalier Microphone
How To Use A Wireless Lavalier Microphone
How To Use A Wireless Lavalier Microphone

Using a wireless lavalier microphone (also known as a lapel mic) is straightforward once you understand the setup. Here’s a step-by-step guide to help you get started:
Step 1: Unbox and Check Components
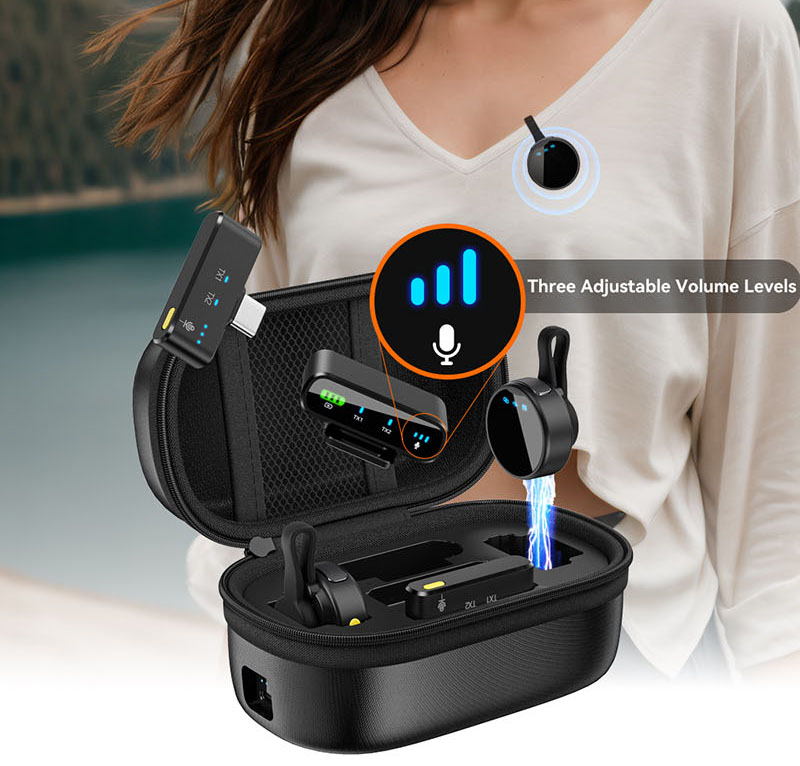
Ensure you have all the necessary components:
- Lavalier microphone (small clip-on mic)
- Transmitter (body pack)
- Receiver
- Audio cables (e.g., 3.5mm AUX, XLR, or RCA)
- Charging cable (usually USB)
- User manual
Step 2: Charge the Devices
- Use the provided USB cable to charge both the transmitter and receiver.
- A full charge typically takes 2-3 hours and provides several hours of use.
Step 3: Connect the Receiver to Your Sound System
- Use the appropriate audio cable (3.5mm AUX, XLR, or RCA) to connect the receiver to your speaker, amplifier, or mixer.
- Ensure the connection is secure.
Step 4: Power On the Devices
- Turn on the receiver first, then the transmitter.
- Wait for the devices to pair automatically. Most wireless lavalier systems use UHF or 2.4GHz wireless technology for pairing.
Step 5: Attach the Lavalier Microphone
- Clip the lavalier microphone to your clothing, about 6-8 inches below your chin.
- Position the microphone slightly off-center to avoid breathing noise.
- Run the microphone cable under your clothing to the transmitter for a clean look.
Step 6: Adjust Settings
- Volume Control: Adjust the gain or volume on the transmitter (if available) and the receiver or sound system.
- Frequency Matching: If you experience interference, check the user manual to change the frequency or channel on both devices.
Step 7: Test the Microphone
- Speak into the lavalier microphone to ensure it’s working.
- Check for any distortion, latency, or interference. Adjust the volume or position of the receiver if needed.
Step 8: Use the Microphone
- Move naturally while speaking, but avoid touching or rubbing the microphone to prevent noise.
- Keep the transmitter (body pack) secure, usually clipped to your belt or placed in a pocket.
Step 9: Power Off and Store
- Turn off the transmitter and receiver after use.
- Store the devices in a safe, dry place.
Troubleshooting Tips
- No Sound: Check connections, volume levels, and ensure both devices are powered on.
- Interference: Move the receiver closer to the transmitter or change the frequency/channel.
- Low Battery: Recharge the devices.
- Cable Noise: Ensure the microphone cable is secure and not rubbing against clothing.
Refer to the user manual for specific instructions related to your wireless lavalier microphone model. Enjoy clear, hands-free audio!


