How To Use Wireless Microphone With Iphone
How To Use Wireless Microphone With Iphone
How To Use Wireless Microphone With Iphone

Using a wireless microphone with an iPhone is a great way to improve audio quality for videos, live streaming, or recording. Here’s a step-by-step guide to help you set it up:
Step 1: Check Compatibility
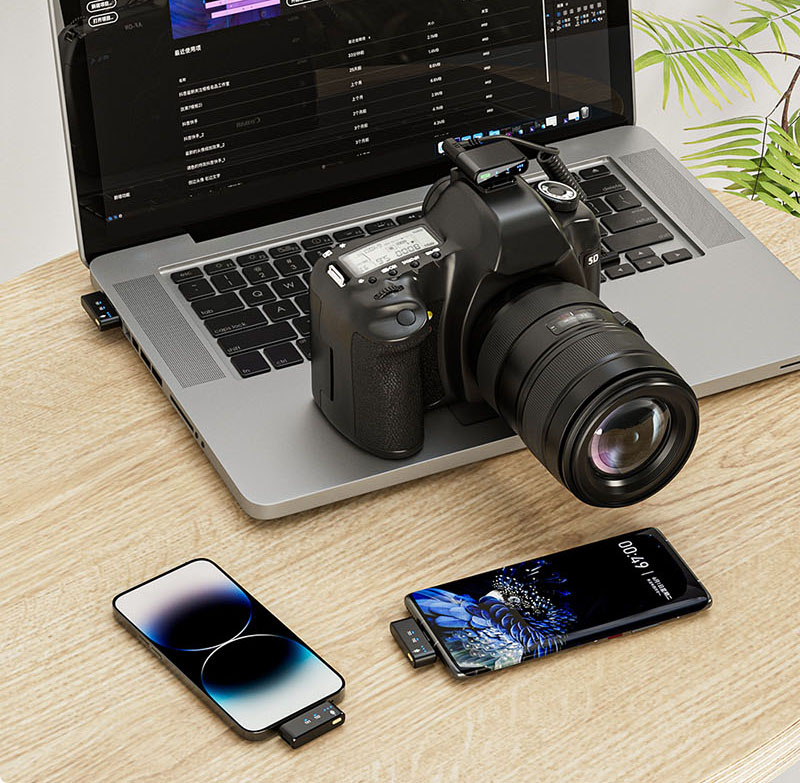
- Ensure the wireless microphone system is compatible with the iPhone. Most modern wireless microphones use a 3.5mm TRRS jack, Lightning connector, or Bluetooth.
- If your iPhone doesn’t have a headphone jack (iPhone 7 and later), you’ll need a Lightning to 3.5mm adapter or a wireless microphone with a Lightning connector.
Step 2: Unbox and Check Components
Ensure you have all the necessary components:
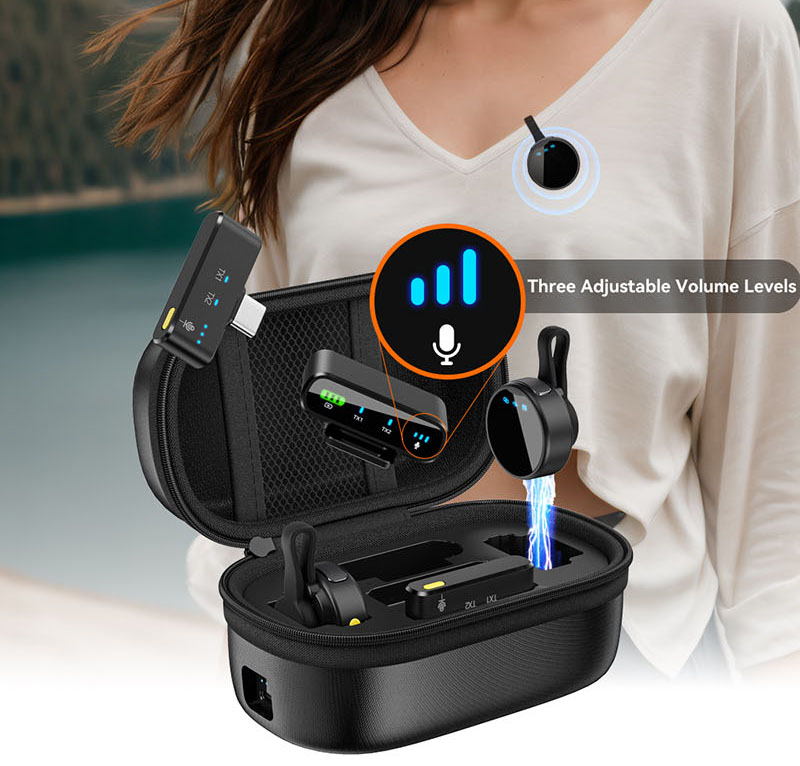
- Wireless microphone (transmitter)
- Receiver (if required)
- Audio cables (e.g., 3.5mm TRRS, Lightning, or USB-C)
- Charging cable (usually USB)
- User manual
Step 3: Charge the Devices
- Use the provided USB cable to charge the microphone and receiver (if applicable).
- A full charge typically takes 2-3 hours and provides several hours of use.
Step 4: Connect the Microphone to Your iPhone
Option 1: Using a 3.5mm TRRS Jack
- Plug the receiver (or microphone) into the iPhone’s headphone jack (if available).
- If your iPhone doesn’t have a headphone jack, use a Lightning to 3.5mm adapter.
Option 2: Using a Lightning Connector
- If the microphone has a Lightning connector, plug it directly into the iPhone’s Lightning port.
Option 3: Using Bluetooth
- Turn on the Bluetooth microphone and ensure it’s in pairing mode.
- On your iPhone, go to Settings > Bluetooth and enable Bluetooth.
- Select the microphone from the list of available devices.
Step 5: Power On the Devices
- Turn on the microphone (and receiver, if applicable).
- Wait for the devices to pair automatically (if using Bluetooth or a wireless system).
Step 6: Adjust Settings
- Open your camera, voice memo app, or recording software.
- Check the audio levels and adjust the microphone gain or volume if necessary.
- Ensure the microphone is selected as the audio input source (if prompted).
Step 7: Test the Microphone
- Speak into the microphone and check the audio quality.
- Record a short clip and play it back to ensure there’s no distortion, latency, or interference.
Step 8: Use the Microphone
- Position the microphone close to your mouth (about 6-8 inches) for optimal sound quality.
- Avoid covering the microphone or creating unnecessary noise.
Step 9: Power Off and Store
- Turn off the microphone and receiver (if applicable) after use.
- Store the devices in a safe, dry place.
Troubleshooting Tips
- No Sound: Check connections, volume levels, and ensure the microphone is powered on.
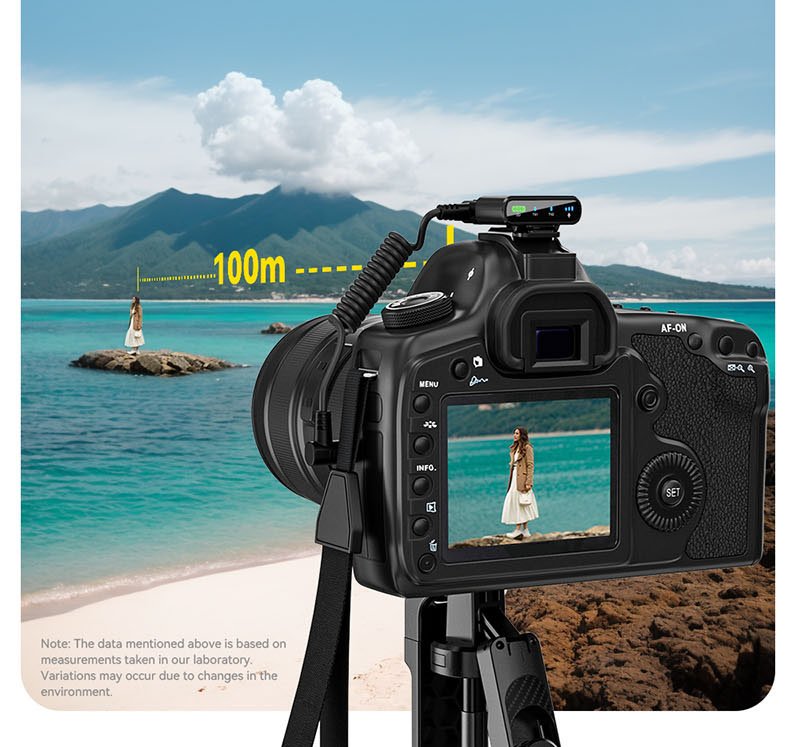
- Interference: Move the receiver closer to the microphone or change the frequency/channel.
- Low Battery: Recharge the devices.
- Bluetooth Issues: Ensure the microphone is in pairing mode and within range of the iPhone.
Recommended Apps for Recording
- Voice Memos: Built-in iPhone app for quick audio recording.
- Filmic Pro: Advanced video recording app with audio controls.
- GarageBand: For high-quality audio recording and editing.
Enjoy using your wireless microphone with your iPhone for professional-quality audio!


